
Complete Guide to Setting Up an LED Wall for Your Virtual Production Studio
In today’s fast-changing world of film, television, streaming, advertising, marketing, and live events, virtual production (VP) is redefining how content is created. Traditional green screens are rapidly being replaced by cutting-edge LED walls, marking a transformative leap in production capabilities.
Virtual production merges physical sets with real-time digital environments, allowing creators to craft immersive scenes on the spot. This shift isn’t just a trend—it’s a response to the growing demand for richer, more engaging visual content.
Industry forecasts estimate the global virtual production market will reach approximately $3.2 billion by 2025, growing at a CAGR of 16–17%, according to Mordor Intelligence. This growth is fueled by increasing interest in LED volumes, real-time rendering, and XR-based workflows.
At the center of this evolution is LED display technology for virtual production. Unlike green screens, which depend heavily on post-production, LED walls offer interactive environments that respond instantly to lighting and camera movements—streamlining the entire workflow.
Below, we break down everything you need to know about building your own LED setup.
Understanding Your Studio Needs Before the Setup Begins
Before diving into equipment or specs, take time to assess your studio’s specific goals. Skipping this step could result in an underperforming setup—or worse, a costly mismatch with your production needs.
Define Your Studio's Use Case
Ask yourself:
- Are you building for high-end film or television?
- Do you need flexibility for streaming events or live broadcasts?
- Will you produce product launches, commercials, or creative shoots?
Each use case influences your required specs. For example:
- Film and TV: Demand fine pixel pitch to avoid moiré and require a wide reference viewing angle for consistent color and brightness.
- Live broadcasts: Prioritize color fidelity and visual consistency.
- All formats: Benefit from a high refresh rate to eliminate flicker and ensure smooth camera synchronization.
Evaluate Physical and Virtual Space
Next, analyze your studio’s layout. Consider:
- Room dimensions
- Power sources
- HVAC systems
- Structural support
Use 3D design or previsualization tools to simulate the LED wall’s integration with lighting, props, and camera setups.
Pro Tip: If you’ll be reconfiguring layouts frequently, consider magnetic modules. These allow fast assembly and easy adjustments—ideal for adaptive studios.
Step-by-Step LED Screen Setup for Studios
Step 1: Choose the Right Screen
Start with pixel pitch. For film-level sharpness, opt for 1.5 mm or lower. Close-up shots demand high detail.
Look for:
Front-service panels:
Essential for wall-adjacent setups—modules can be accessed and replaced from the front.
Lightweight construction
Important for flown installations, where every pound matters for rigging and structural safety.
Step 2: Select the Installation Method
Each method offers unique advantages:
Ground Support
Best for
Temporary sets or frequent reconfigurations
Pros
Easy assembly/disassembly, no ceiling mods
Cons
Takes up floor space, may require scaffolding
Wall-Mounted
Best for
Permanent or semi-permanent sets
Pros
Clean aesthetic, saves floor space
Cons
Requires reinforced wall and careful planning
Flown
Best for
Immersive environments or vertical flexibility
Pros
Ideal for virtual ceilings and multi-layered environments
Cons
Demands professional rigging and safety certification
Safety Tip
Always check the panel’s durability rating (e.g., IP45/IP65) to ensure resilience and ease of maintenance.
Step 3: Integrate Control Systems
Real-time responsiveness depends on seamless communication between the LED screen for unreal engine, and the camera system.
Key components include:
- Video processors and sending cards (Novastar): Ensure signal quality and real-time scaling
- Synchronous systems: Crucial for virtual production—allow frame-accurate syncing with rendering engines
- Asynchronous systems: Suitable for static signage or pre-rendered playback
Ensure compatibility with software like Unreal Engine, media servers, and other creative inputs.
Step 4: Calibrate and Test
Before going live, calibrate thoroughly. Test for:
- Uniform brightness and color across all panels
- High refresh rate compatibility with your camera
- Dead pixel detection and cable integrity
- Camera tracking system integration (Genlock, timecode, etc.)
- Image optimization using software like Novastar or Brompton
Step 5: Partner With a Trusted Supplier
A reliable supplier does more than deliver panels—they guide your entire setup.
Look for:
- Positive reviews and client testimonials
- Proven experience in virtual production projects
- Comprehensive services, including:
- Logistics and delivery
- On-site installation
- Technical configuration
- Inventory transparency
- Ongoing support
Step 6: Maintain and Clean Regularly
An LED display is a long-term investment. Maintenance ensures peak performance and longevity.
Why it matters:
- Preserves visual quality
- Prevents dust-related damage
- Optimizes uptime
Cleaning steps:
- Turn off power.
- Use a dry microfiber cloth to remove surface dust.
- For deeper cleaning, use a slightly damp cloth with distilled water and a touch of <70% isopropyl alcohol.
- Avoid direct liquid application or harsh scrubbing.
- Inspect cables and connections.
Schedule professional servicing annually or biannually for internal checks.
Performance Matters: What to Expect From a Properly Installed LED Display
With your LED technology for special effects fully installed and calibrated, the impact on your production is immediate and significant.
Benefits:
Real-time accuracy
What you see is what you get—virtually no surprises in post-production.
Reduced post work
No green spill or chroma key cleanup.
Creative freedom
Change locations, lighting, or environments with a click
Enhanced realism
High brightness and color accuracy work with your camera’s exposure settings, not against them.
Combined with software like Unreal Engine and advanced processors, you unlock real-time VFX, interactive lighting, and complete control over your virtual world.
Choosing the Right LED Video Wall Partner for Your Studio
Building a virtual production studio is a significant commitment. Your technology partner should:
- Understand the production pipeline
- Offer tailored recommendations
- Be a long-term collaborator, not just a vendor
LED Market: Trusted Screens for Your Virtual Production Studio
At LED Market, we specialize in LED solutions engineered for virtual production. Explore our curated product lines designed for all production sizes: https://ledmarketusa.com/led-walls-for-virtual-productions/
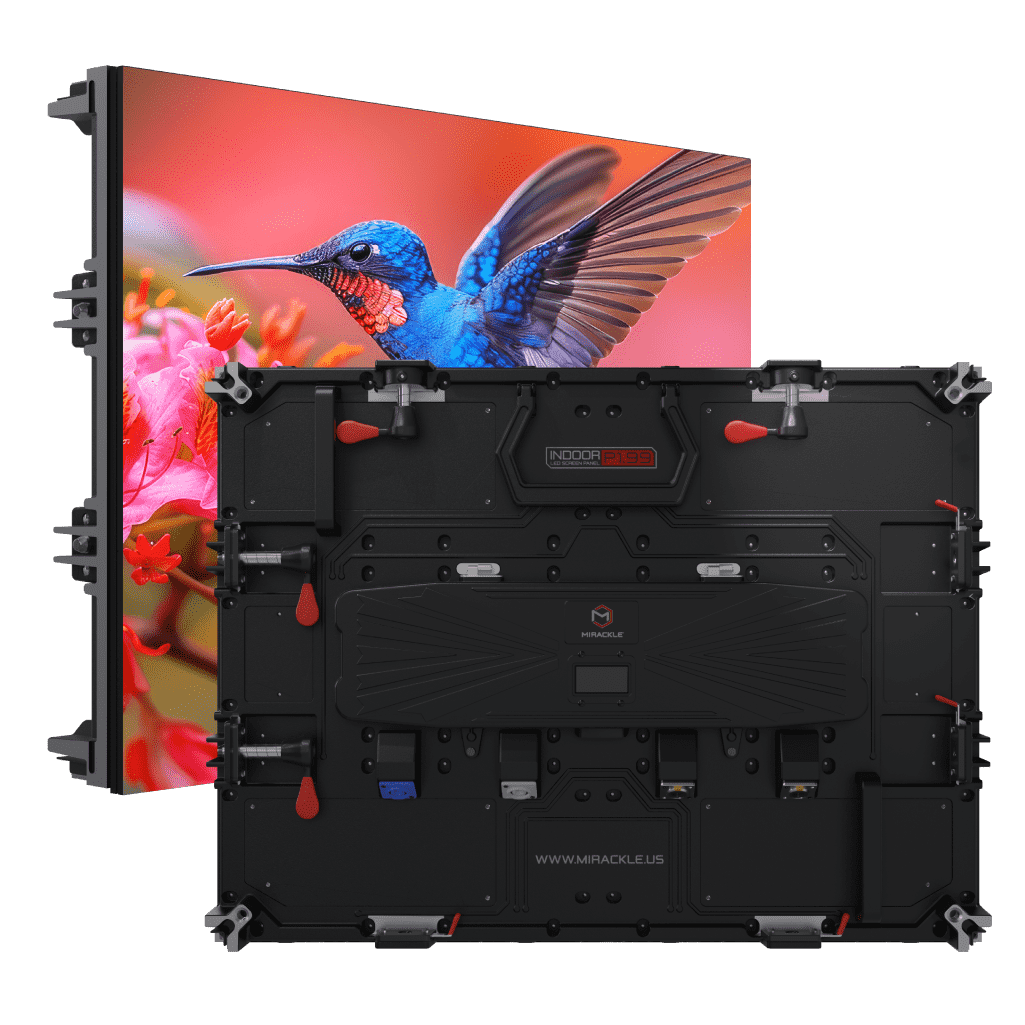
Small Studios / Content Creation / Advertising
LED Market F1.9
- 1.9 mm pixel pitch for sharp close-ups
- Modular design for flexible layouts
- Ideal for branded environments and high-impact content
Medium Studios / Series & Short Films
LED Market P2.5 Pro
- 2.5 mm pitch with high refresh rate
- Robust brightness for cinematic realism
- Suitable for extended sets and actor interactions
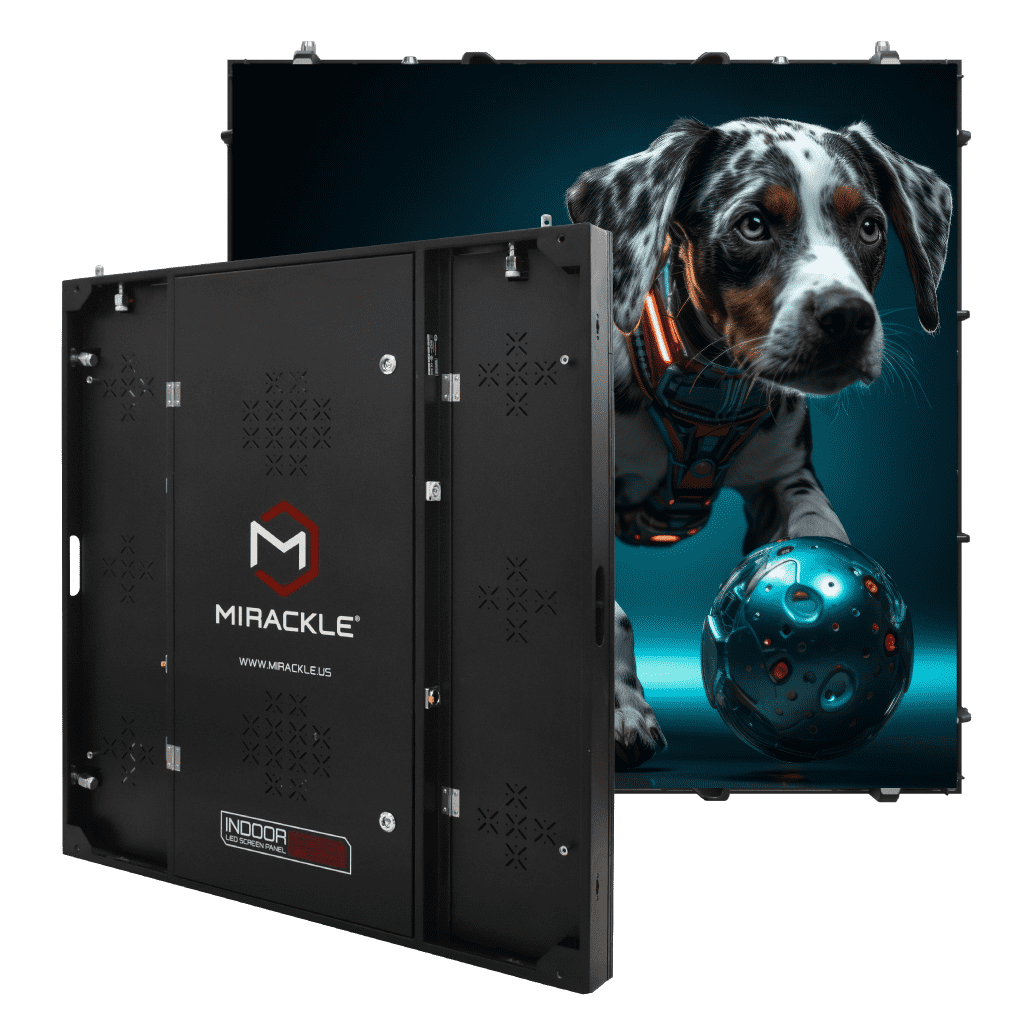
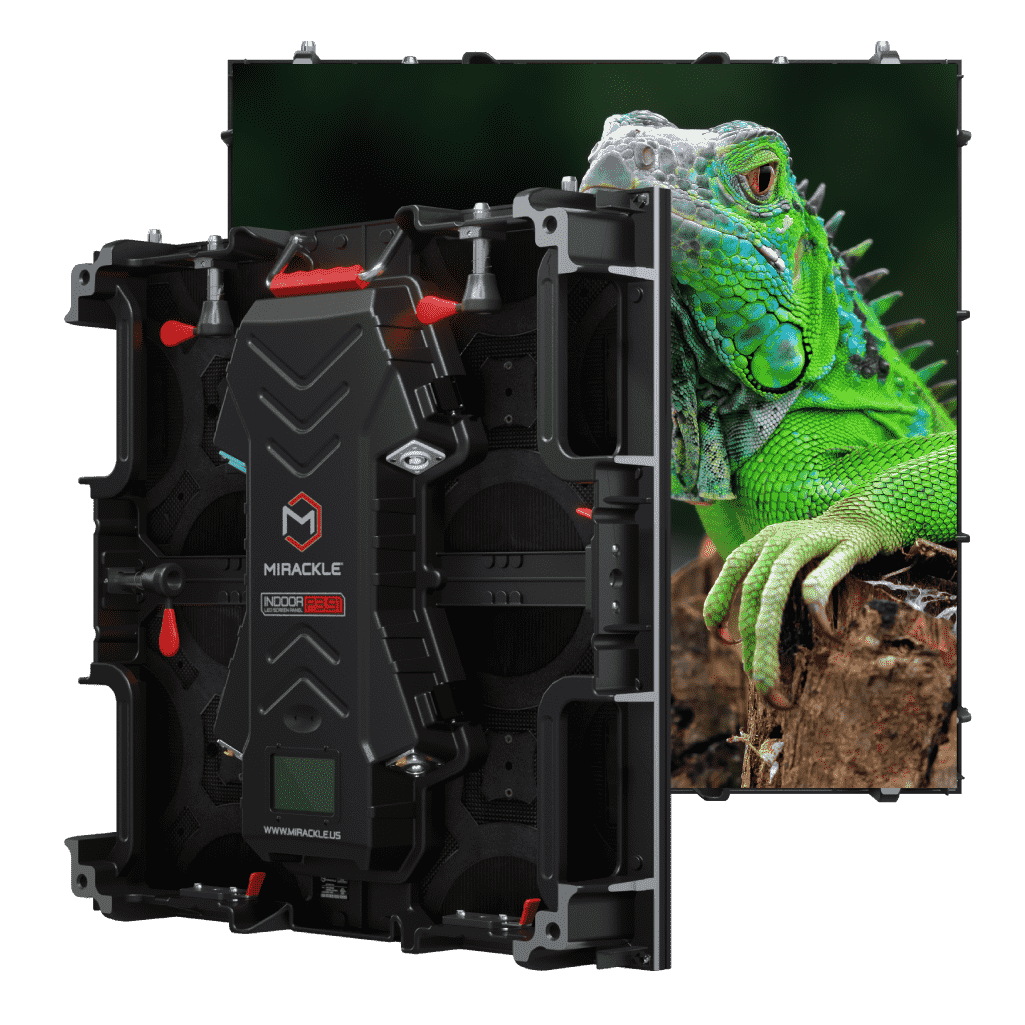
Large Studios / Immersive Productions
LED Market V3.9 Outdoor/Indoor
- Adaptable for both interior and large-scale VP environments
- Superior uniformity in color and brightness
- Excellent for immersive volumes and full-scale scenes
Browse our catalog and discover more at: https://ledmarketusa.com/led-walls-for-virtual-productions/
Make it seen. Make it unforgettable. Make it LED Market.